Sunday, June 26, 2016

Tunisian Crochet Shell Stitch Scarf


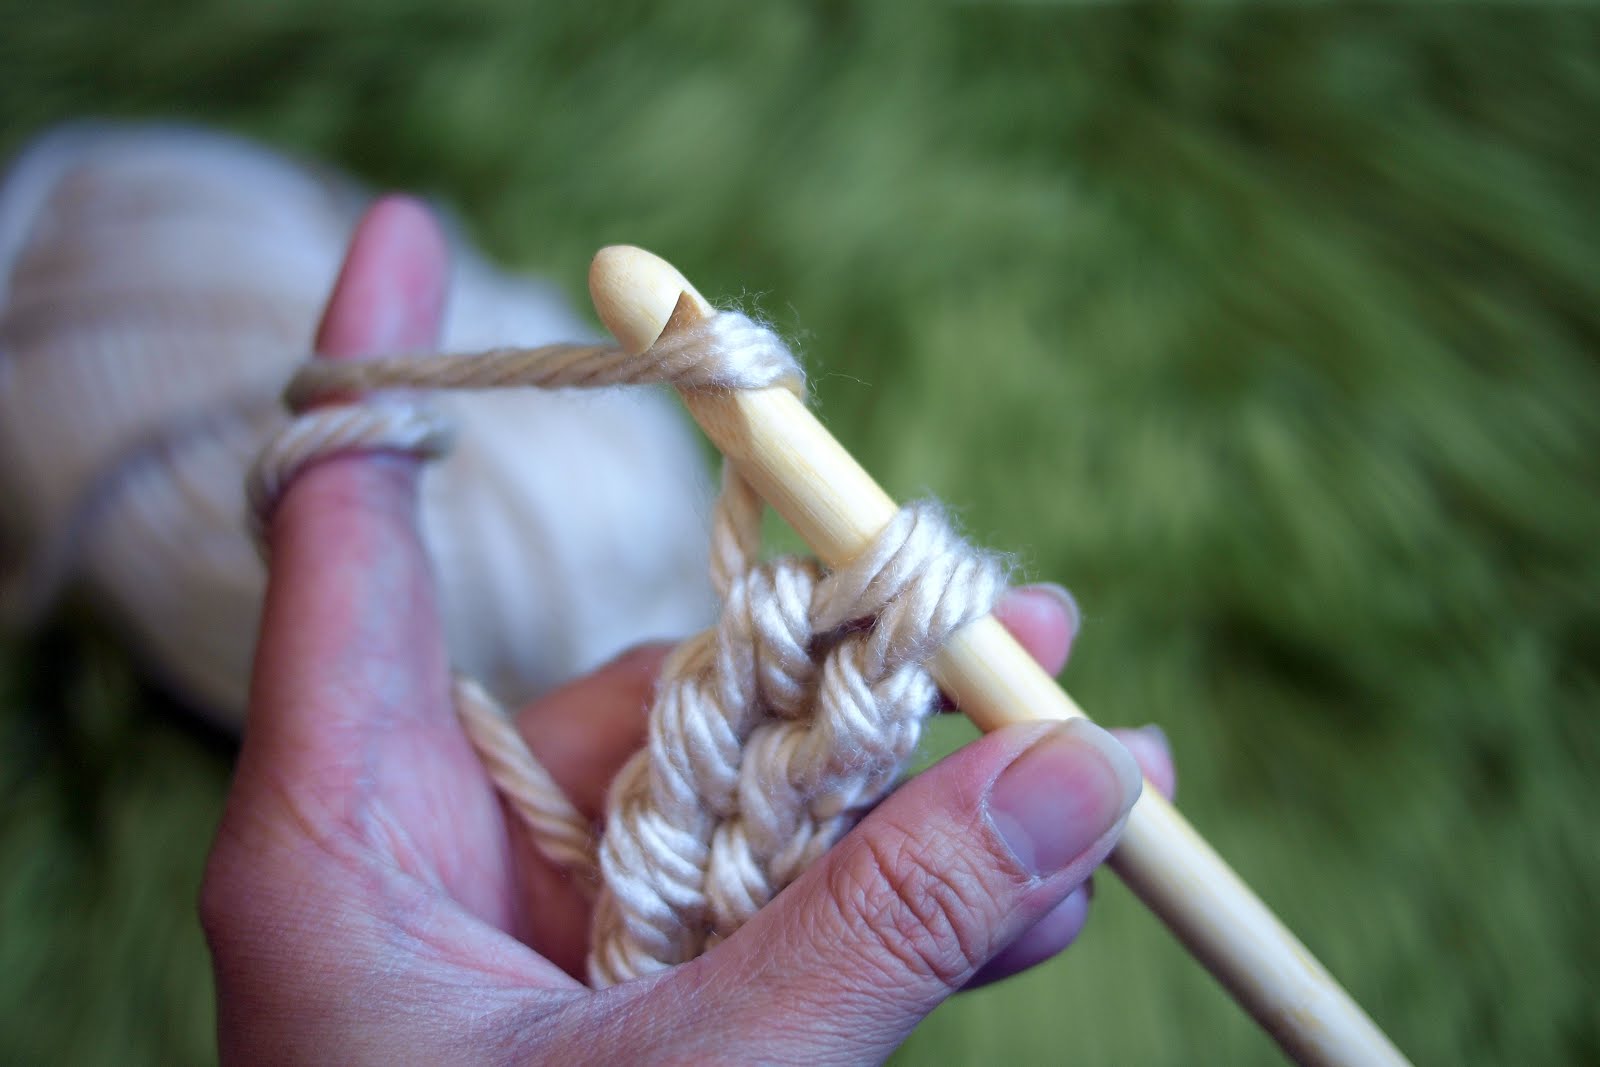
I just finished my first Tunisian project, the Crochet Chunky Tunisian Cowl. I decided to search other stitches and the shell stitch was so wonderful! I started using a smaller yarn but decided since the stitch was a lace stitch, I would use the 10mm hook still. This was also mainly because I wasn't at home and didn't have any other size hook.... and me waiting until I got home? No way! ha-ha

I found this Tutorial on YouTube that shows you how to make the shell stitch. 


Here it is on my sweet boy.


Crochet Chunky Tunisian Cowl


I purchased Tunisian (Afghan) hooks a few months ago and had so many projects that I just never had a chance to use it. I finally decided to watch some videos and get started!


To practice, I used a 6mm hook and Red Heart yarn. This was as much as I did before I decided to go for my first project!


If you know me, chunky yarn is my favorite to start off with since it's quicker!


I decided to use the biggest hook I had which was 10mm. 


I found several beginners videos to help me get started on YouTube by the Crochet Crowd:


How to Tunisian Crochet: Cast on

How to Tunisian Crochet: Simple Stitch
How to Tunisian Crochet: Cast Off

These are the 3 simple videos I used to make this cowl.


I cast on (chained) 20 stitches with a 10mm hook. I took it with me to our Father's Day dinner at my in laws. The crazy boys were outside so I worked on the cowl while sitting on the patio. Summers here are very HOT.


Here I am wearing it at work. It's a little chilly in the morning but it's just because I was excited to wear it hehe.


It was surprisingly easy. After I finished, I made another one using the Shell Stitch. Check it out here!

Here are some photos of the stitches. See the links above for the video tutorials.

Chained 20 


Going into the hump and pulling up a loop leaving the stitch on the hook.


Do the same all the way back


*Once I got to the end, chain 1 (yarn over and pull through one loop) 
The repeat all the way back is "yarn over, and pull through 2 loops on hook"


Now you start going back down the other direction. Insert hook through the second "post" (vertical yarn) and pull the yarn through leaving the loop on hook. Repeat all the way down.


On the last stitch, you insert through 2 loops


Now you repeat from * (chain 1, yarn over pull through 2 loops... repeat) See above.


The Front and Back

Tuesday, June 14, 2016

Crochet Chunky Throw Blanket

I wanted to make another blanket. I know it's June and is 100° but it will be useful when we're camping in the coast or when fall comes around. It doesn't stay hot forever.... at least that's my excuse when hubby asked why I'm making  a blanket in the summer :)

Earlier this year, hubby bought me a little basket of yarn for Mother's Day (he actual listened to me when I say "All it takes is yarn to make me happy"). I decided to use the Grey Heather yarn to make a chunky blanket. I didn't want to run to the store for super bulky yarn. So I took 3 skeins and used 3 strands to make the blanket. 

I recently purchased a 15mm hook from Amazon because I was going to make another blanket (which I will get to eventually hehe). 

I absolutely hate chaining. Even when I taught my co-workers how to crochet, that was the worst part for me. Okay, maybe chaining isn't so bad but it's when you have to crochet into the chain that makes me absolutely crazy! 

When I first learned about chain-less foundations, it was like discovering light for the first time! I have been in the dark for so long and now, everything has changed. I no longer pass up the scarf projects because I have to "chain".

Here is a video I found that does a pretty good job of showing you how to do a chain-less double crochet foundation. If this one doesn't work for you, just search for a different video. There's so many out there!


This blanket is pretty much just double crochets back and forth after the initial double crochet foundation chain.

Materials:

15mm Hook
Worsted weight yarn (3 strands/skeins combined) the quantity will depend on how big your blanket is
Yarn Needle
Scissors

1) Start with a chain-less double crochet foundation 
OR 
Chain the width of the blanket size you want, double crochet into the 4th chain from the hook all the way to the end

Either method, when you get to the end, ch 3 & turn. Chain 3 counts as a Double
Crochet. 
2) Double crochet into each stitch (not the same one as the chain) all the way to the end. ch 3 & turn

3) Repeat #2 until desired length is reached. Fasten off and weave in all ends. 

You may add edging or just leave as is.

I have so many projects going on that the blanket gets last priority so it feels like it's taking a long time but this blanket really does work up fast since the hook size is so large and double crochet stitches are taller.


Sunday, June 12, 2016

Crochet Girl's Shell Stitch Dress


Okay, so I finally took the plunge and decided to crochet a dress for my niece. I have been looking all over Pinterest for a pattern for a knit or crochet tank/tee for myself but none jumps at me. I found this dress pattern from WoolyWondersCrochet on YouTube. It's a beginner's pattern and I couldn't believe how easy it was!

I used a 6mm hook which was supposed to be for a 6 month - 12 month old but mine was bigger than that. Lucky for me the niece I was planning to make this for has an older sister! Sorry little niece! I will make you a smaller one! I put this on my 3 year old son and it fit nicely. They're only 2 months apart so I know it should fit her.

Instead of making it longer as a dress, I thought it was cute like a tunic. She can wear tights underneath (OH! I wish I had a girl! I love my 3 boys though!)

The back of the dress opens on top and is held together by a button.


Friday, June 10, 2016

Crochet Triangle Shawl


I've always wanted to make shawls but I have to admit that I was never a fan of wearing one... like, ever. There's something about making things yourself and having more appreciation for it.

It's a simple pattern using granny stitches worked in a triangle shape.


The corner is worked with a 3 cluster double crochet, ch1 and cluster double crochet. This would be the corners of your granny square except the triangle really only has one "corner".


I used a 6mm hook. When you get to the sides, it's 4 double crochets (instead of the 3 double crochet clusters). The fourth double crochet is more like the edge or foundation.


I used a cardboard that was the perfect size! Attached it in the spaces only at first and then decided there wasn't enough fringe! So I added more in the 2nd stitch of every cluster.


Taking photos of myself is hard! 


Tuesday, June 7, 2016

Crochet Bikini Top


I've put off making these because I always get so intimidated by them and also, I don't particular like working with things that require me to make tight stitches. It's hard on my hands and especially since I use smaller hooks. This Bikini is for a size small. Adjust your chain stitches for larger cups (11, 13, 15).

Supplies:

Yarn: Sugar & Cream or Peaches & Creme Cotton Yarn
4mm hook
Scissoros
Yarn Needle

Abbreviations:

ch - chain
st - stitch
sl st - slip stitch
sc - single crochet
hdc - half double crochet
dc - double crochet
sk - skip

Bikini (make 2): 

1:  ch 11, sc in the 2nd ch from the hook and every st until you have 1 st left, 3sc into the last st. (Now working on the other side) 1 sc into each st along the other side. 

2: ch1 & turn. 1 hdc in the same st, 1 hdc in each st until you reach the 3 sc increase. 1hdc in the next, 3 hdc into the middle of the sc (from previous row) & 1sc into the 3rd st. Continue with 1 hdc in each st on other side. 

Repeat 2 until you get the size you want. I stopped when I had 18 stitches on one side from bottom to the top middle of the 3 stitches. I divided that by 6 and got 3 so I crocheted a dc every 3 stitches (dc, sk 2, dc in 3rd st)

Edge

1: ch 5 (the first dc and 2 ch), sk 2 st and dc into the 3rd st, *ch2, sk 2 sts, 1dc into the next st. Repeat from * until you get to the 3 st increases, 3 dc into the middle of the 3 increases and go back down the other side the same way, sk 2 st, dc in 3rd, sk 2 st, dc in 3rd st....

2: ch 1 and turn your work, *sl into the ch 2 space, ch 1, 1 hdc, 1 dc, 1 hdc, sl st all in the same ch 2 space, Repeat from * until top of the 3 increase stitches. Once you get to the 3 stitches, you sc into the first st, 2 dc into the middle st, and sc into the 3 st (these are the 3 increases on top). Repeat from * again down the other side.

3: ch 2, work on the bottom of the cup now, dc across to the other end, ch 1 turn and sc back to other end. fasten off and weave in ends.

Straps:

Attach yarn to between the top 2 increase stitches and ch as long as you need to go up the neck and tie in a bow. sl st back to the beginning. Fasten off and weave in ends. Do for both cups.

for the strap that goes across your body: ch as long as you need to go around your torso and tie in bow, sl st back to beginning and fasten off and using a yarn needle, thread ends and weave through both cups where the double crochet stitches are. Weave in all ends ends if you haven't yet.

Now I just have to learn how to make the bottom LOL!


Sunday, June 5, 2016

Crochet Slouchy Puff Stitch Beanie

Wow, I'm on a roll with these puff stitch beanies. I saw this black yarn with specks of neon and I really wanted to make something with it! I still need to work out the kinks to this patter but wanted to share a photo!


Thursday, June 2, 2016

Crochet Newborn Cluster Beanie


So I've been wanting to make a hat like this and decided that I would make it today but when I searched for "cluster beanie" none of it was what I was looking for. So I took the challenge of doing it myself... I had to redo the beginning a few times because, well honestly, it's because I didn't know what I was doing! haha In the end, it was exactly what I wanted. yay!

The hat measures 14" circumference and 5.5" from top to bottom.

Materials:

Worsted Weight Yarn - Red Heart in Grey Heather
5.5mm Hook
Yarn Needle
Scissors
Tape Measure (optional)

Abbreviations:

yo - yarn over
ch - chain
st - stitch
sl st - slip stitch
sc - single crochet
dc - double crochet

Pattern:

Starting with a magic circle

Round 1 - ch2, 12 dc into magic circle, sl to top of beginning dc


Round 2 - Start of single clusters: 
ch 2 (counts as a dc) , 
yo, go through same st & pull up a loop, yo pull through 2 loops on the hook
yo, go through same st & pull up a loop, yo, pull through 2 loops on the hook
yo and pull through all 3 loops on the hook
*ch1
yo, go through next st & pull up a loop, yo pull through 2 loops on the hook
yo, go through same st & pull up a loop, yo, pull through 2 loops on the hook
yo and pull through all 4 loops on the hook
Repeat from * all the way around. 
sl st to top of first cluster & sl st into the ch 1 space 
(12 clusters with ch1 spaces between them)

Round 3 - Start of double Clusters: 
ch 2 (counts as a dc) , 
yo, go through same ch1 space & pull up a loop, yo pull through 2 loops on the hook
yo, go through same ch1 space & pull up a loop, yo, pull through 2 loops on the hook
yo and pull through all 3 loops on the hook
ch 1
yo, go through same ch1 space & pull up a loop, yo, pull through 2 loops on the hook
yo, go through same ch1 space & pull up a loop, yo, pull through 2 loops on the hook
yo and pull through all 4 loops on the hook

*yo, go through next ch1 space & pull up a loop, yo pull through 2 loops on the hook
yo, go through same st & pull up a loop, yo, pull through 2 loops on the hook
yo and pull through all 4 loops on the hook
ch 1
yo, go through same st & pull up a loop, yo, pull through 2 loops on the hook
yo and pull through all 4 loops on the hook

Repeat from * all the way around. 
sl st to top of first cluster & sl st into the ch 1 space 

Round 4-7 
ch 2 (counts as a dc) , 
yo, go through same ch1 space (space between the previous double clusters) & pull up a loop, yo pull through 2 loops on the hook
yo, go through same ch1 space & pull up a loop, yo, pull through 2 loops on the hook
yo and pull through all 3 loops on the hook
ch 1
yo, go through same ch1 space & pull up a loop, yo, pull through 2 loops on the hook
yo, go through same ch1 space & pull up a loop, yo, pull through 2 loops on the hook
yo and pull through all 4 loops on the hook

*yo, go through next ch1 space (space between the previous double clusters) & pull up a loop, yo pull through 2 loops on the hook
yo, go through same st & pull up a loop, yo, pull through 2 loops on the hook
yo and pull through all 3 loops on the hook
ch 1
yo, go through same st & pull up a loop, yo, pull through 2 loops on the hook
yo and pull through all 4 loops on the hook

Repeat from * all the way around. 
sl st to top of first cluster

Brim

ch1 single crochet into each stitch all the way around.
When I got back to the beginning, instead of a slip stitch to the beginning sc, I went in a continuous round single crocheting into the back loops only for 2 more rounds. sl st to finish, fasten off and weave in all ends.

I followed this pattern for the flower and only made 2 layers.


Crochet Lulu Pom Pom Scarf

Let's face it. Kids things are cute. They're miniature and the kiddos look good modeling anything! Anyone who knows me knows ...